准备
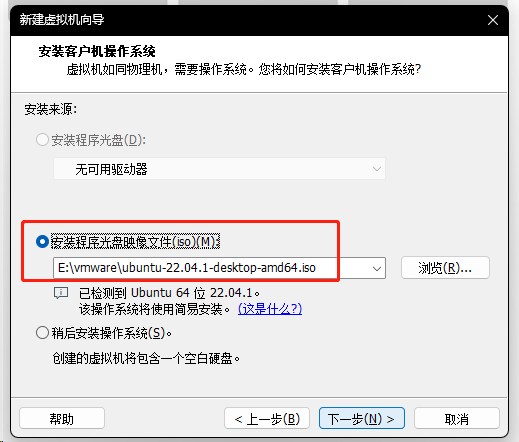
镜像:https://mirrors.tuna.tsinghua.edu.cn/ubuntu-releases/22.04.1/ubuntu-22.04.1-desktop-amd64.isohttps://mirrors.tuna.tsinghua.edu.cn/ubuntu-releases/22.04.1/
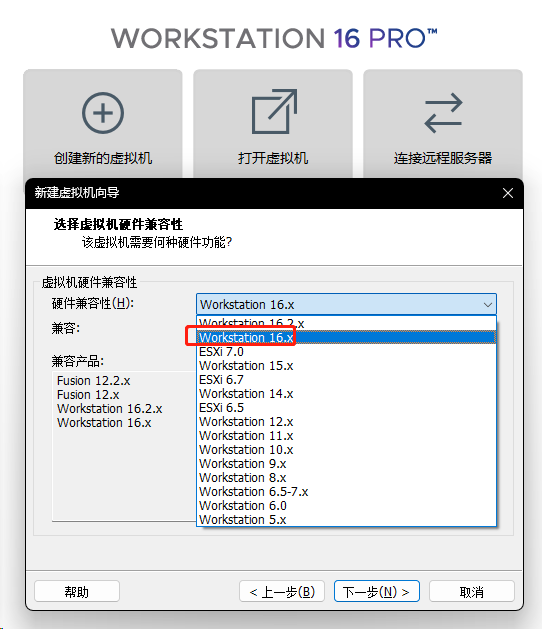
vmware:16.2.2
步骤
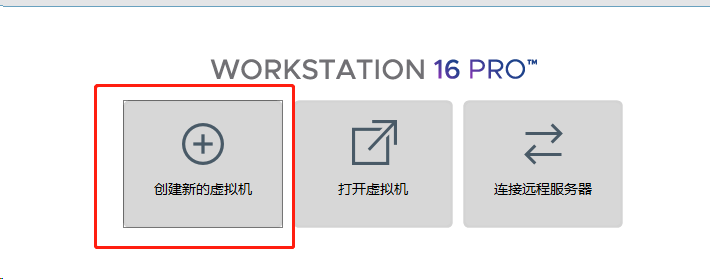
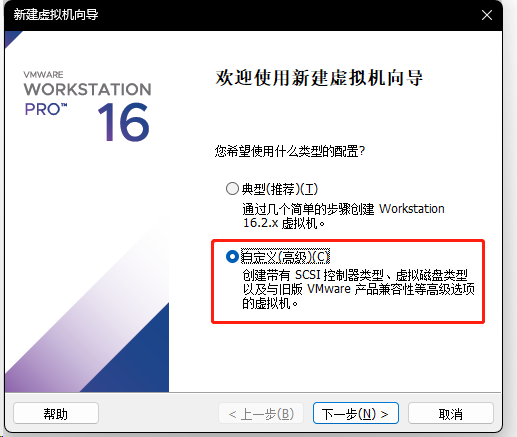
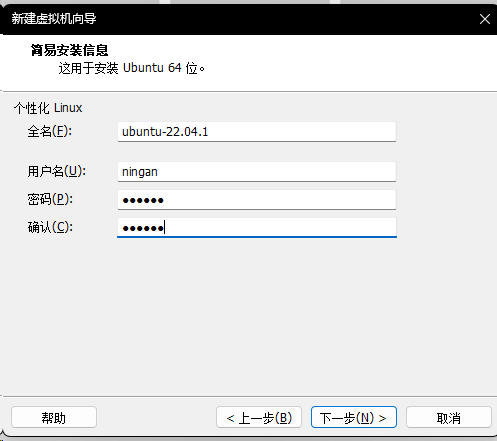
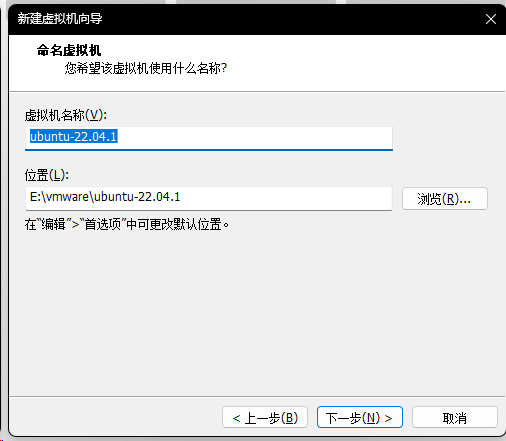
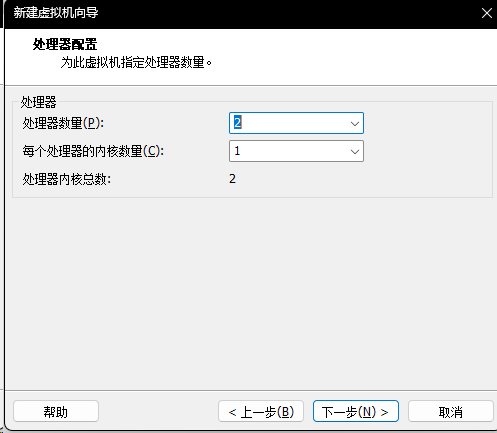
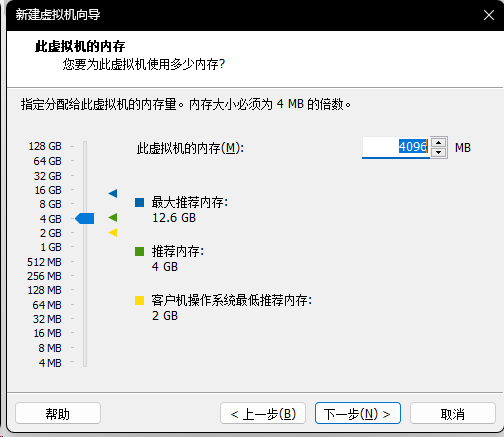
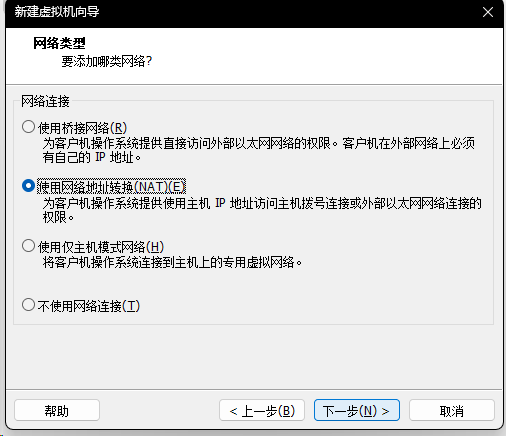
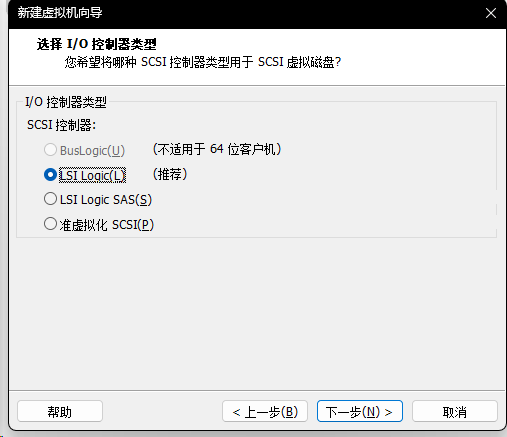
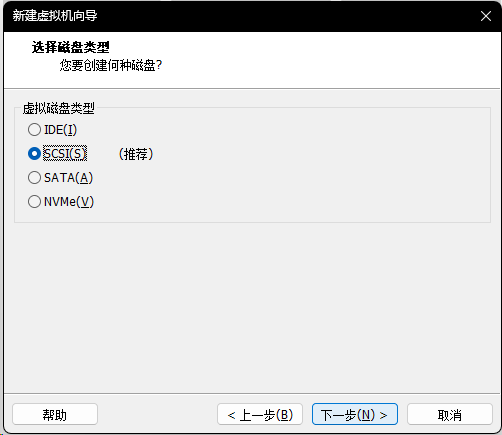
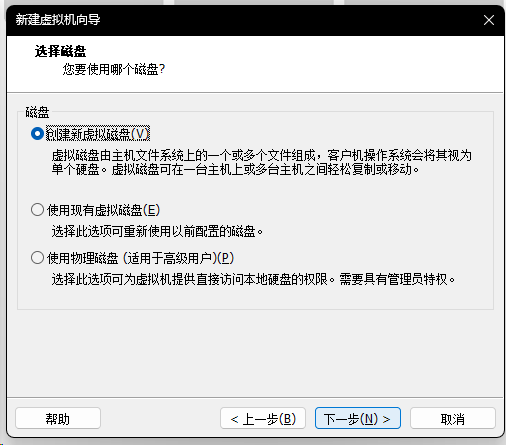
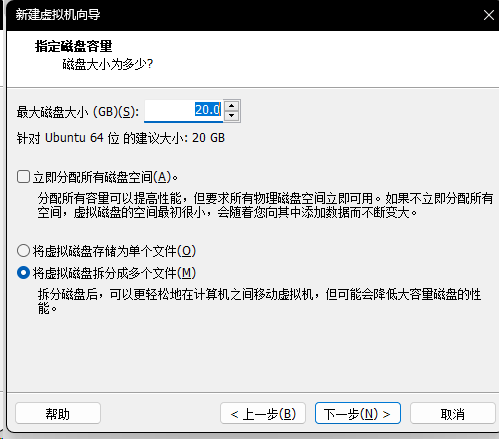
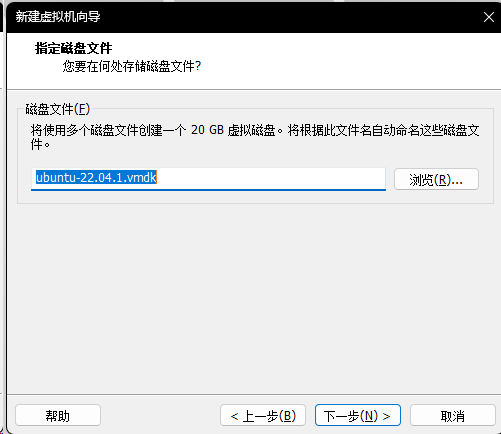
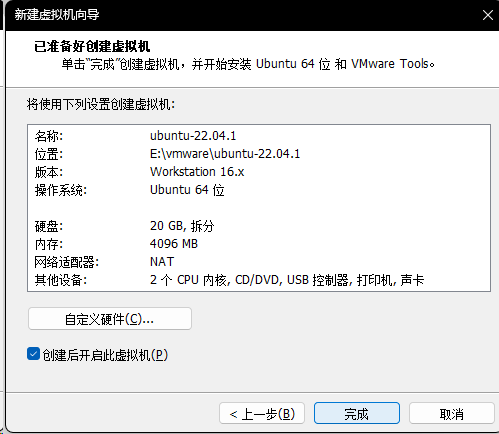
- 创建虚新的虚拟机
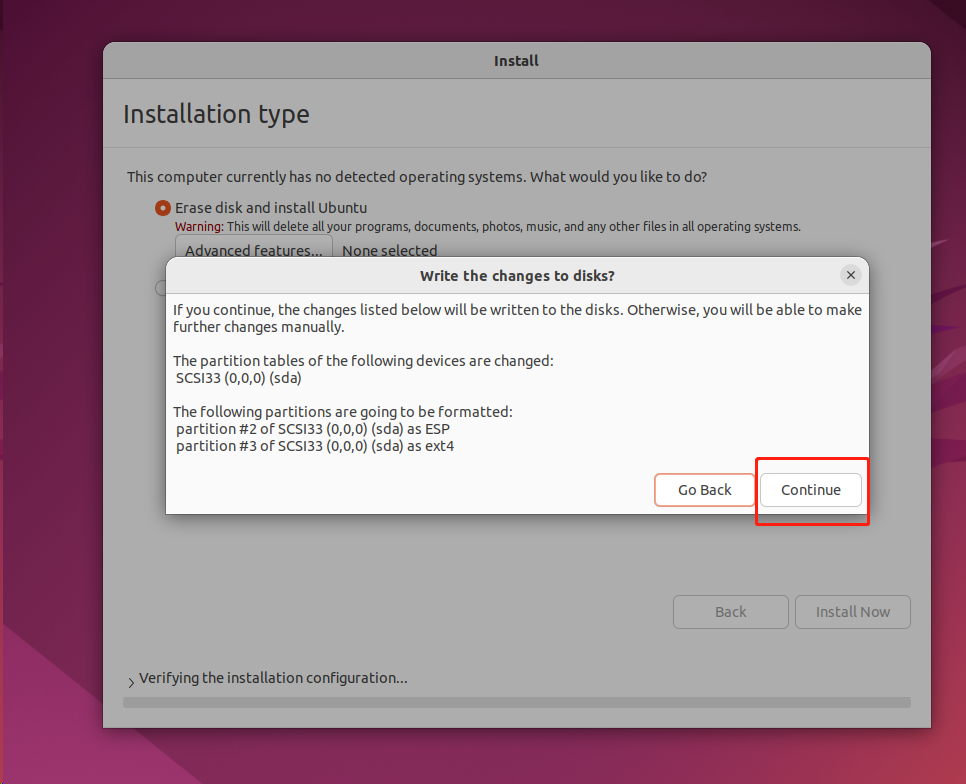
配置完参数之后,系统开始安装,如下所示:
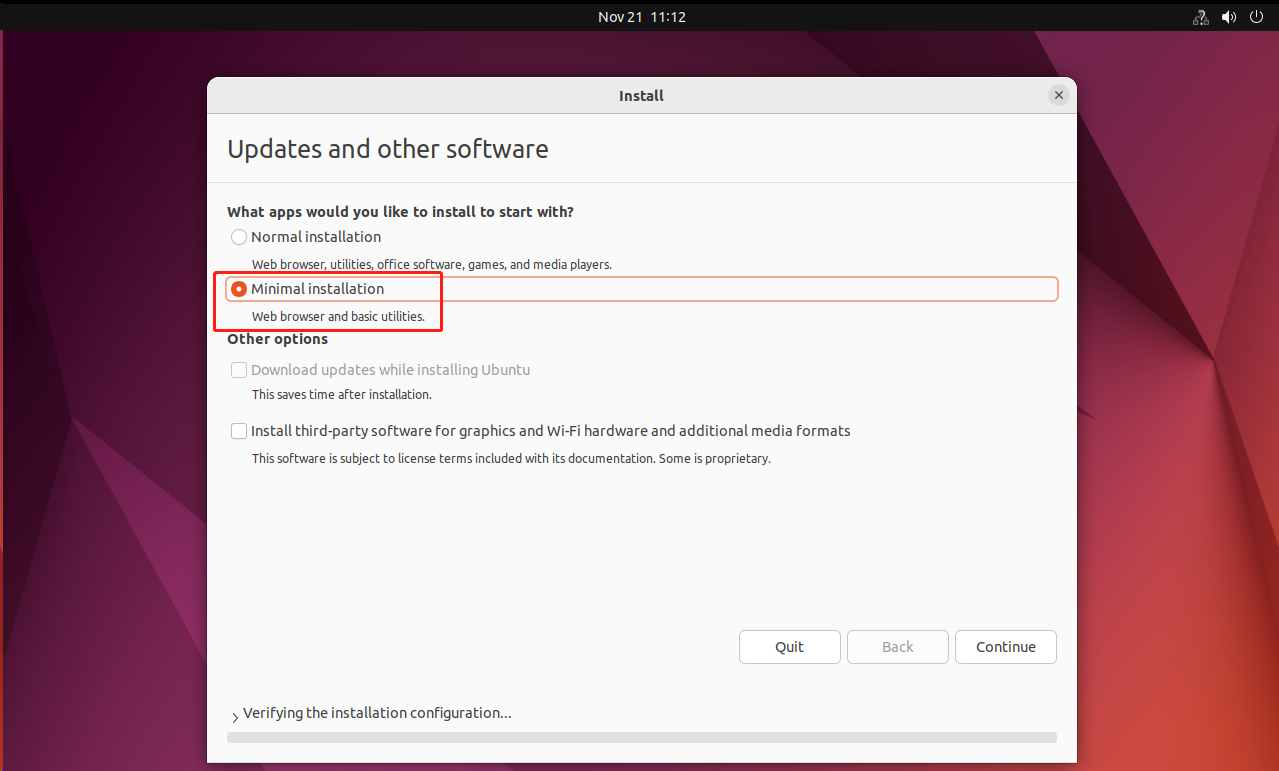
此处可以把Download updates while installing ubuntu 关掉,不关的话,网不好,会导致虚拟机安装卡在某一个地方一动不动
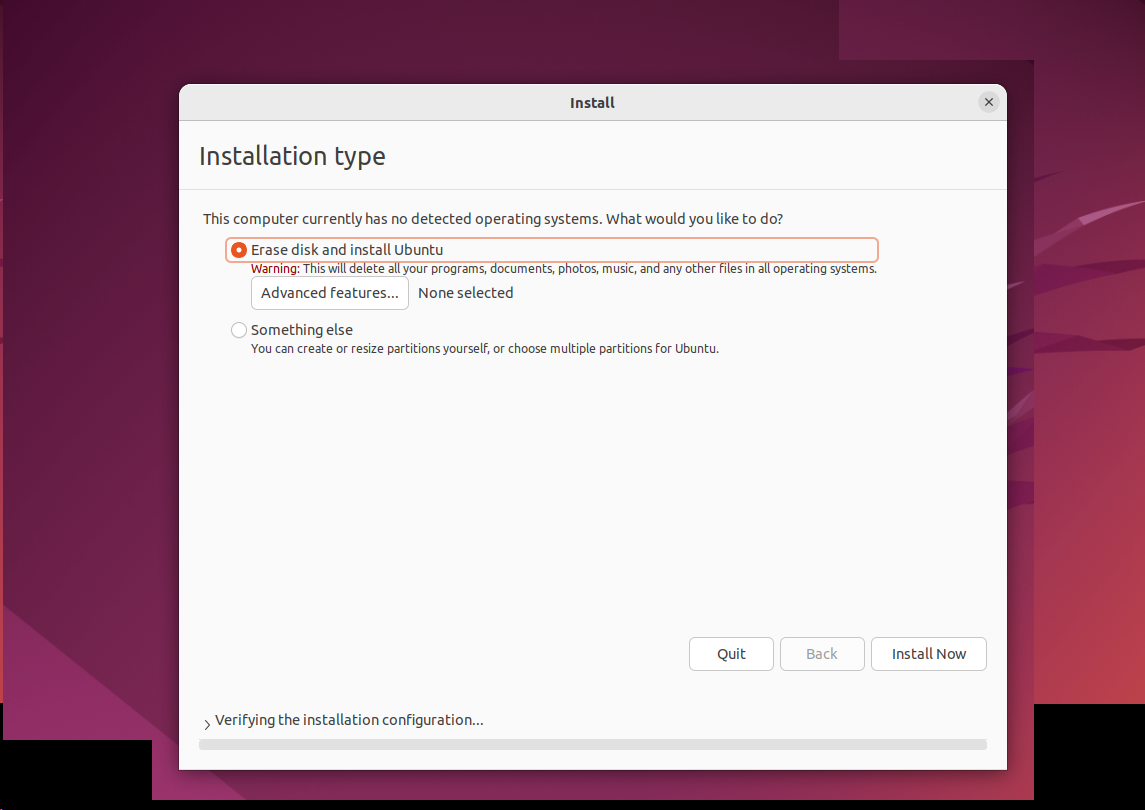
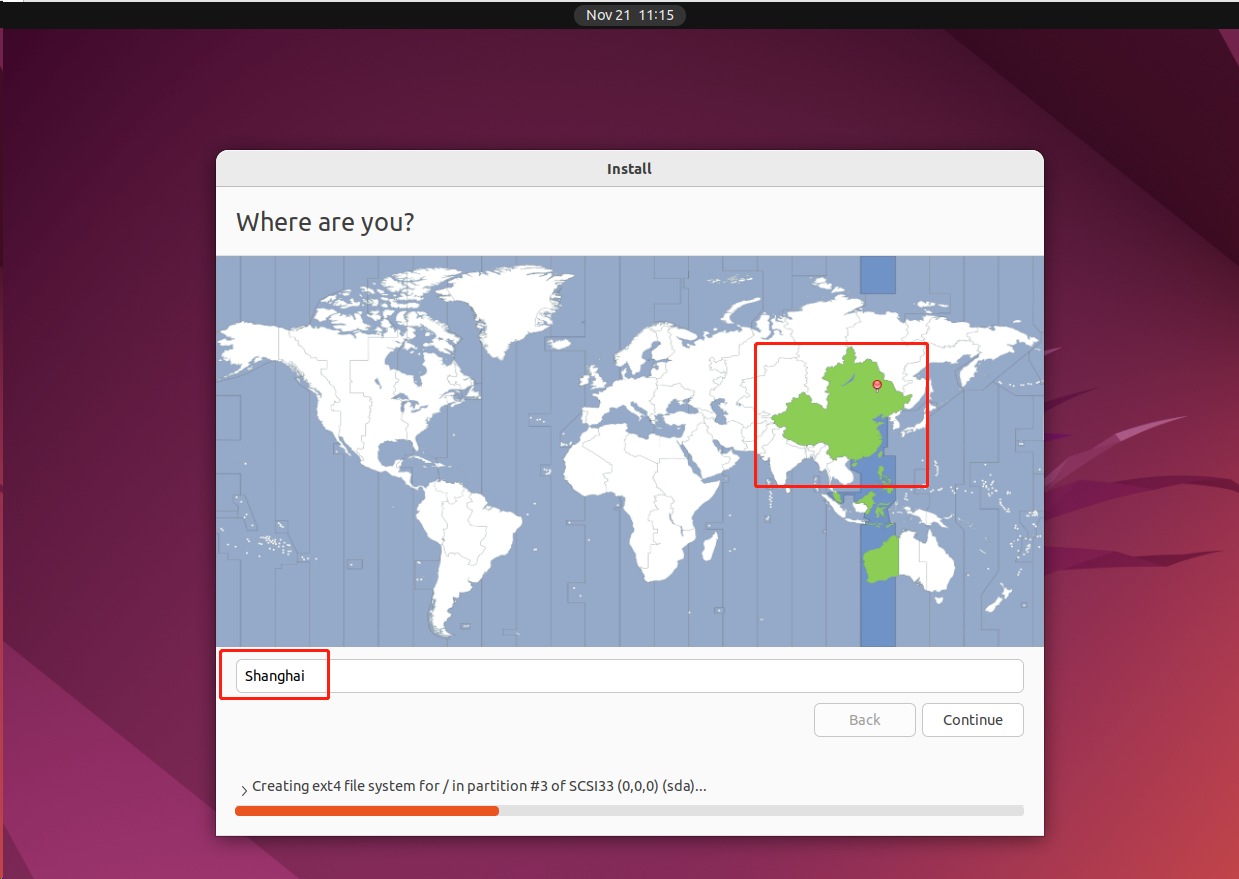
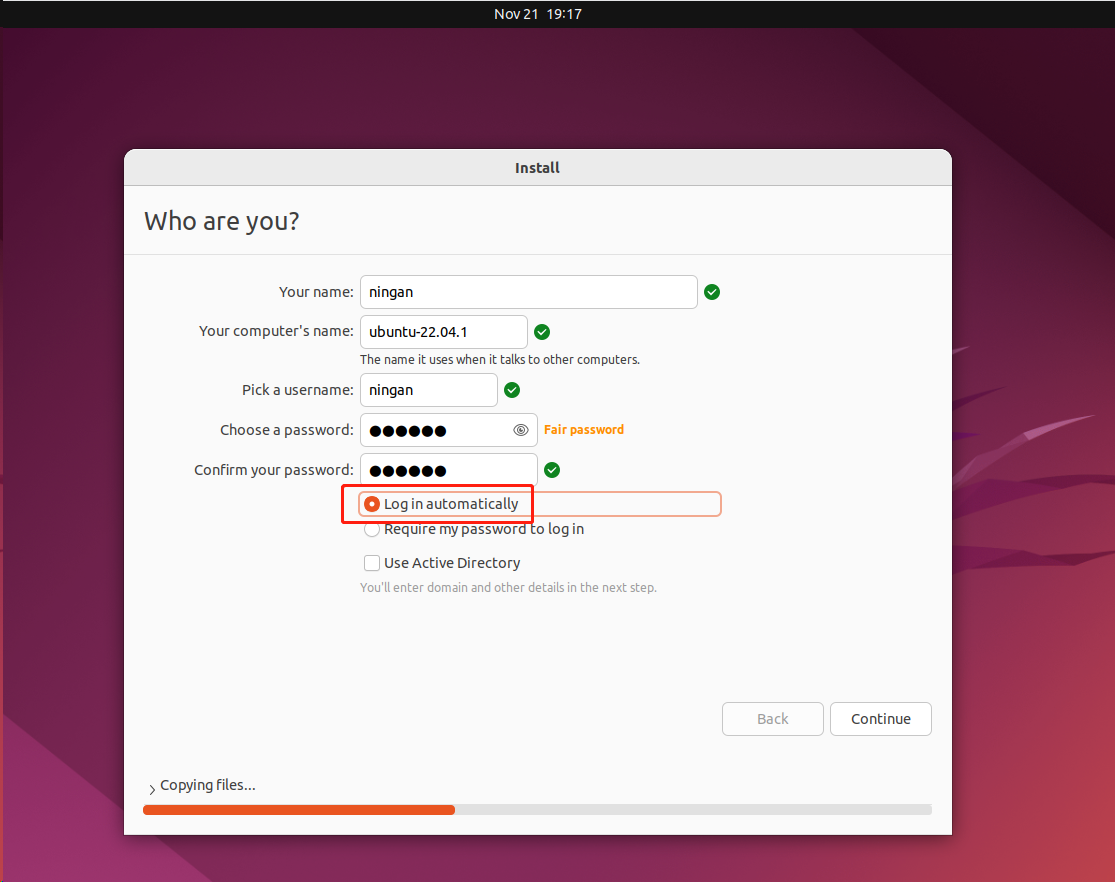
开始了漫长的安装
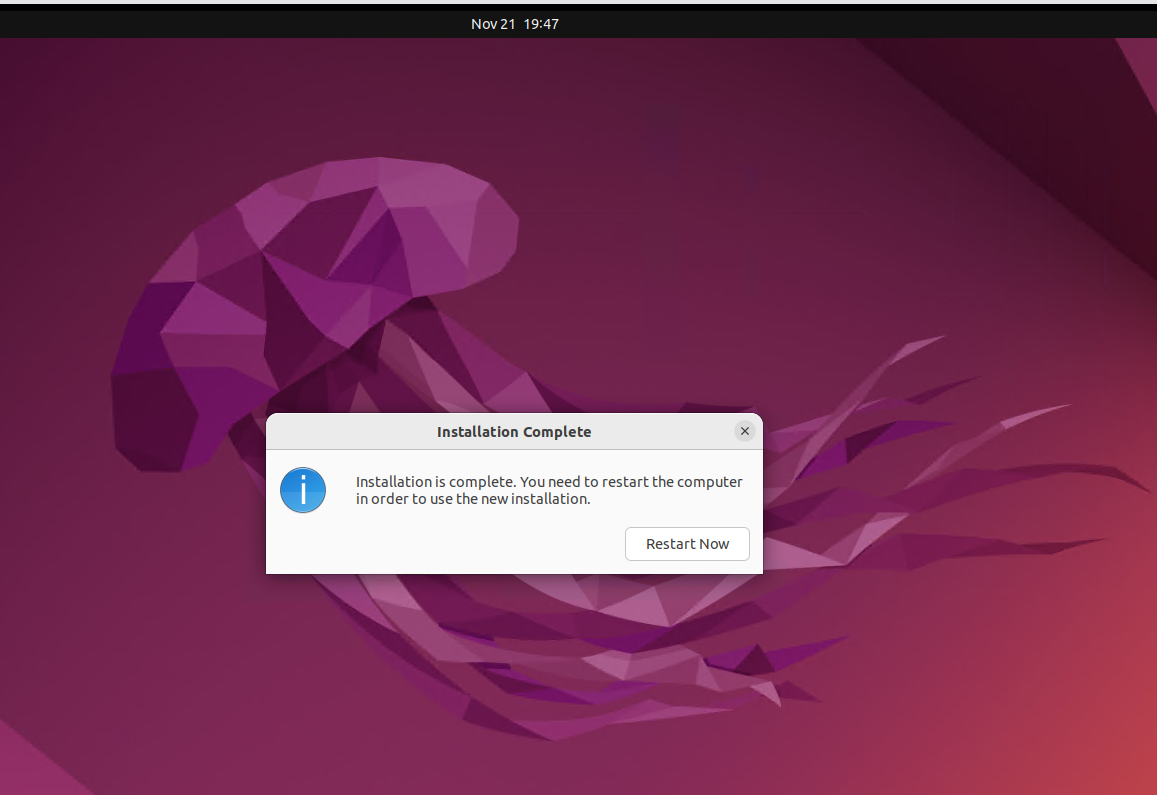
19:17-19:47 安装好啦


进阶1
dns无法解析
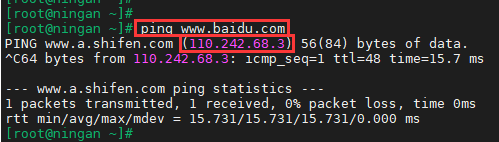
发现虚拟机解析不了域名,域名不能访问,ip可以访问(ip是通过一台正常的虚拟机解析出来的,下面第2张图)
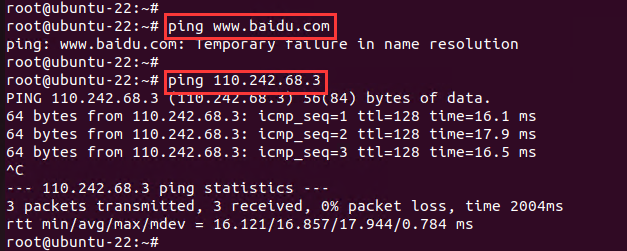
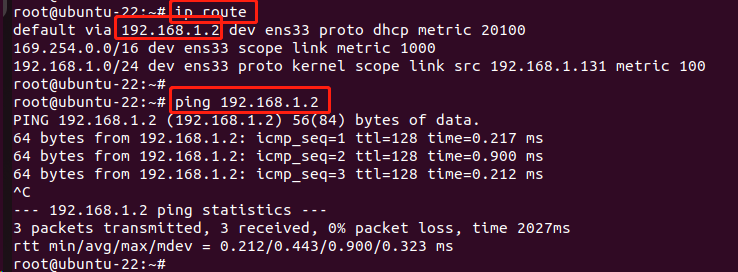
查看网关,ping网关是没有问题的
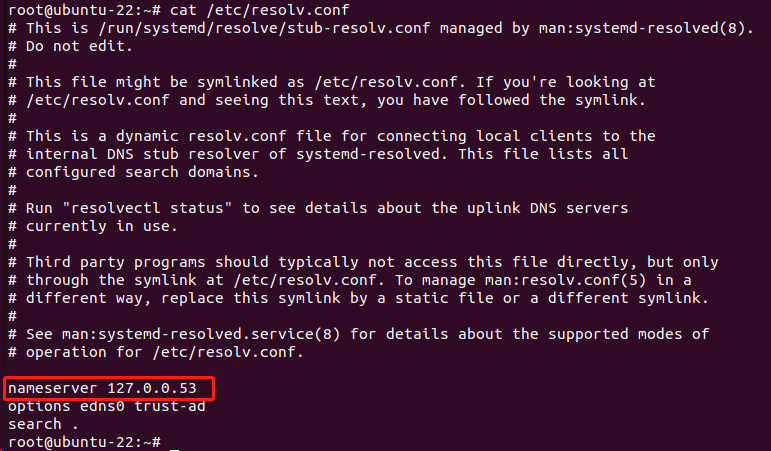
查看/etc/resolv.conf文件,发现没有可用的dns服务器
在这个文件中添加dns服务器的话,每次重启就会被刷成之前的配置
我们采用修改静态ip的办法,顺便把dns加上
修改静态ip
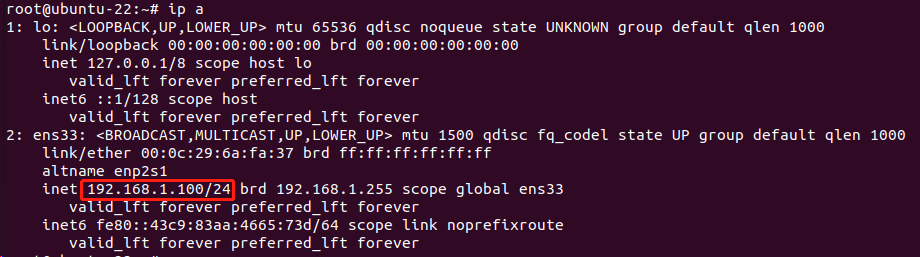
查看网卡配置
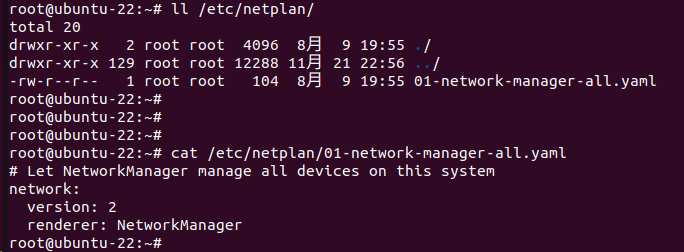
这是没有修改之前的网卡配置
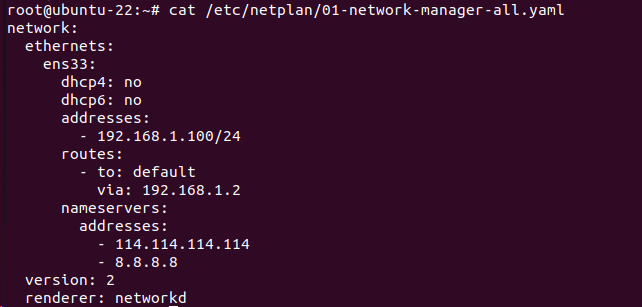
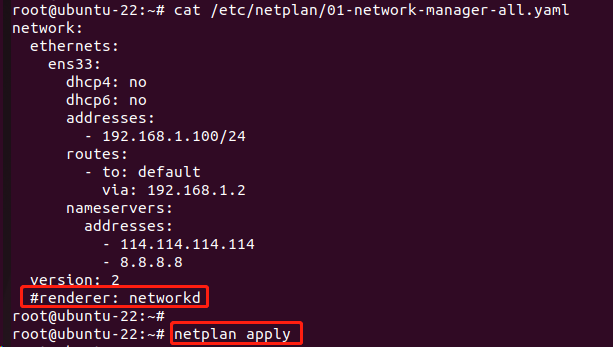
修改/etc/netplan/01-network-manager-all.yaml文件,如下所示:
执行:

注释掉renderer
(如果没加renderer也报这个错,再次执行netplan apply就ok了)
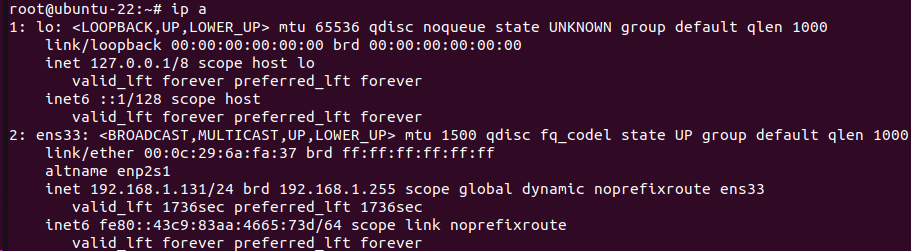
查看ip地址,已经成功更改~
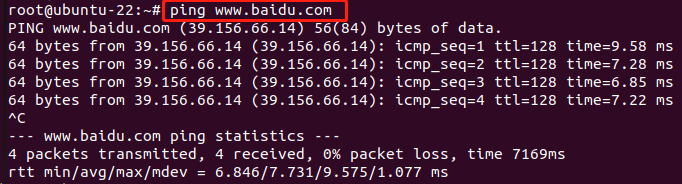
再次ping域名,已经没有问题啦~
yaml文件如下:
1
2
3
4
5
6
7
8
9
10
11
12
13
14
15
16
17
18
| root@ubuntu-22:~
network:
ethernets:
ens33:
dhcp4: no
dhcp6: no
addresses:
- 192.168.1.100/24
routes:
- to: default
via: 192.168.1.2
nameservers:
addresses:
- 114.114.114.114
- 8.8.8.8
version: 2
|
换源
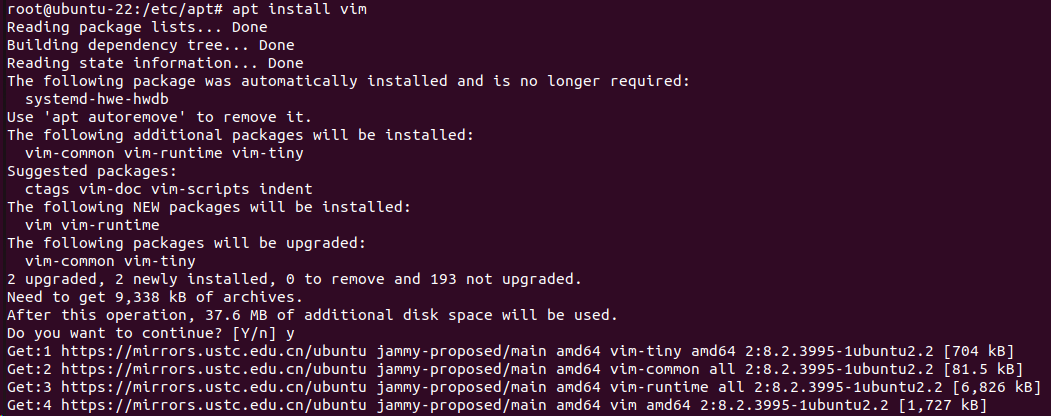
想要下载一个vim,发现下载不了
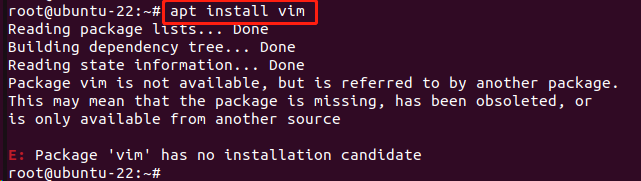
换源操作来一波
Ubuntu 的软件源配置文件是 /etc/apt/sources.list
1
2
3
4
5
6
7
8
9
10
11
12
13
14
15
16
17
18
19
20
|
备份原始源文件source.list
sudo cp /etc/apt/sources.list /etc/apt/sources.list.bak

修改源文件sources.list  中科大ubuntu 22.04镜像
sudo cat << EOF > /etc/apt/sources.list
deb https://mirrors.ustc.edu.cn/ubuntu/ jammy main restricted universe multiverse
deb-src https://mirrors.ustc.edu.cn/ubuntu/ jammy main restricted universe multiverse
deb https://mirrors.ustc.edu.cn/ubuntu/ jammy-updates main restricted universe multiverse
deb-src https://mirrors.ustc.edu.cn/ubuntu/ jammy-updates main restricted universe multiverse
deb https://mirrors.ustc.edu.cn/ubuntu/ jammy-backports main restricted universe multiverse
deb-src https://mirrors.ustc.edu.cn/ubuntu/ jammy-backports main restricted universe multiverse
deb https://mirrors.ustc.edu.cn/ubuntu/ jammy-security main restricted universe multiverse
deb-src https://mirrors.ustc.edu.cn/ubuntu/ jammy-security main restricted universe multiverse
deb https://mirrors.ustc.edu.cn/ubuntu/ jammy-proposed main restricted universe multiverse
deb-src https://mirrors.ustc.edu.cn/ubuntu/ jammy-proposed main restricted universe multiverse
EOF


apt update
|
update之后,可以顺畅下载vim了
进阶2
远程连接
普通用户连接
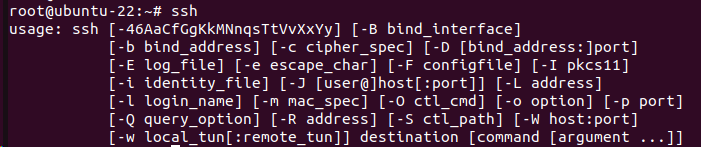
ubuntu 都原生有了ssh客户端,可以通过ssh 命令检验.
远程连接的服务器端没有自带,需要自行安装,命令为:
sudo apt install openssh-server
检查ssh是否成功启动
1
2
3
| /etc/init.d/ssh status
systemctl status ssh
ps -e | grep sshd
|
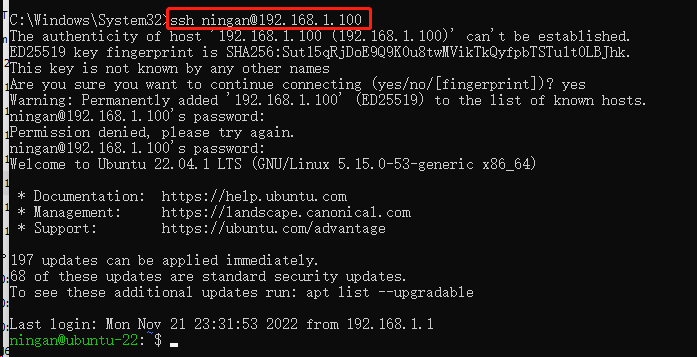
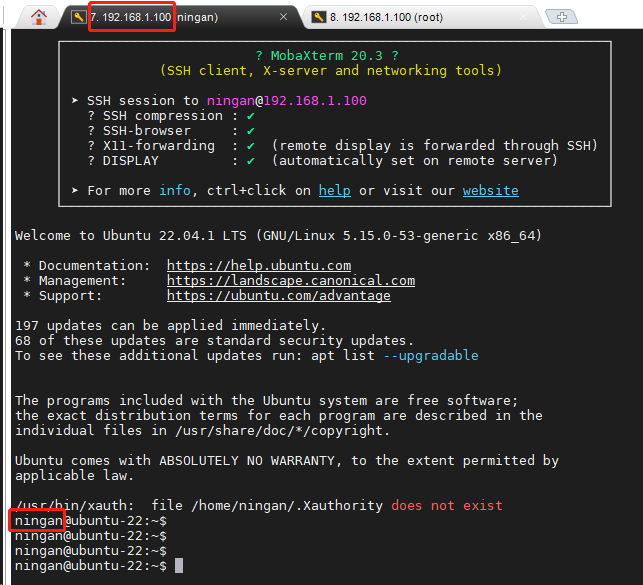
远程连接,可以成功连接
这个是cmd的远程连接
这个是mobaxterm的远程连接
root连接
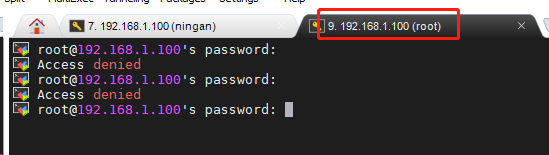
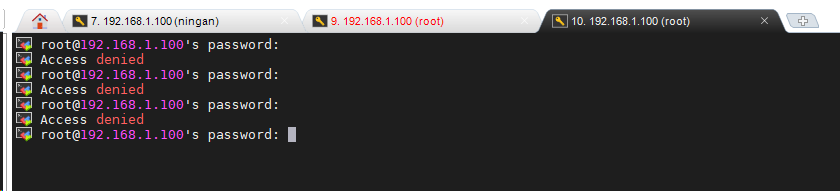
刚刚是普通用户的连接,此时root用户还是无法连接
Ubuntu中SSH服务安装完成后查看是否允许root用户登陆,若不允许则无法远程登陆root用户,需要修改配置
打开“/etc/ssh/sshd_config”
sudo vim /etc/ssh/sshd_config
找到并用#注释掉这行:PermitRootLogin prohibit-password
查看是否有“PermitRootLogin yes”新建一行 添加:PermitRootLogin yes
重启服务
1
2
| /etc/init.d/ssh restart
sudo systemctl restart ssh
|
测试了一下,还是连不上
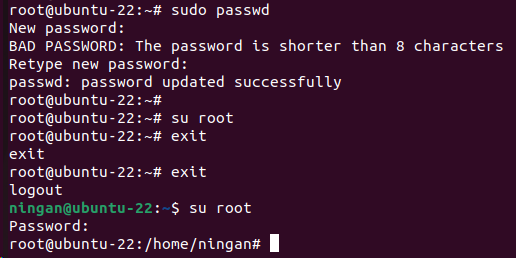
修改root密码
Ubuntu的 默认root密码是随机的,即每次开机都有一个新的root密码。我们可以在终端输入命令 sudo passwd,然后输入当前用户的密码, enter,
终端会提示我们输入新的密码并确认,此时的密码就是root新密码。修改成功后,输入命令 su root,再输入新的密码就ok了。
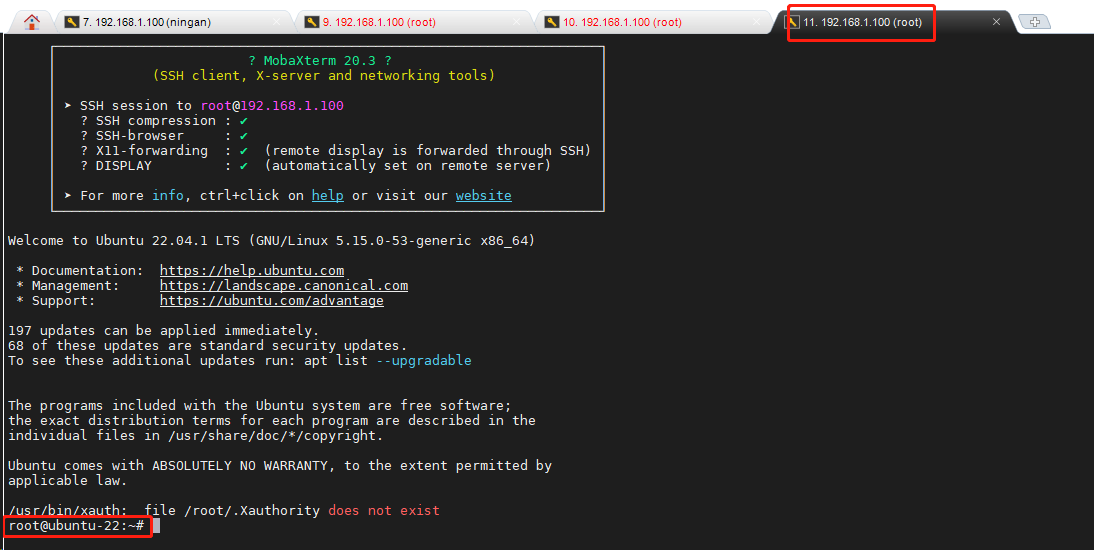
再次使用root连接,发现就可以成功连接了
进阶3
修改终端命令提示符颜色
1
2
3
4
| vim ~/.bashrc
PS1='\[\e[32;40m\][\u@\h \W]\$\[\e[0m\] '
PS1='\[\e[34;40m\][\u@\h \W]\$\[\e[0m\] '
source ~/.bashrc
|

可以看到,终端已经变成了绿色。详细说明可以参考附件的资料。
参考资料
Ubuntu 22.04换国内源 清华源 阿里源 中科大源 163源
ubuntu首次SSH使用root账户远程登录教程
# Xshell Linux centOS命令提示符改颜色