【hexo系列】02.hexo和obsidian实现笔记丝滑
hexo主题
1 | |
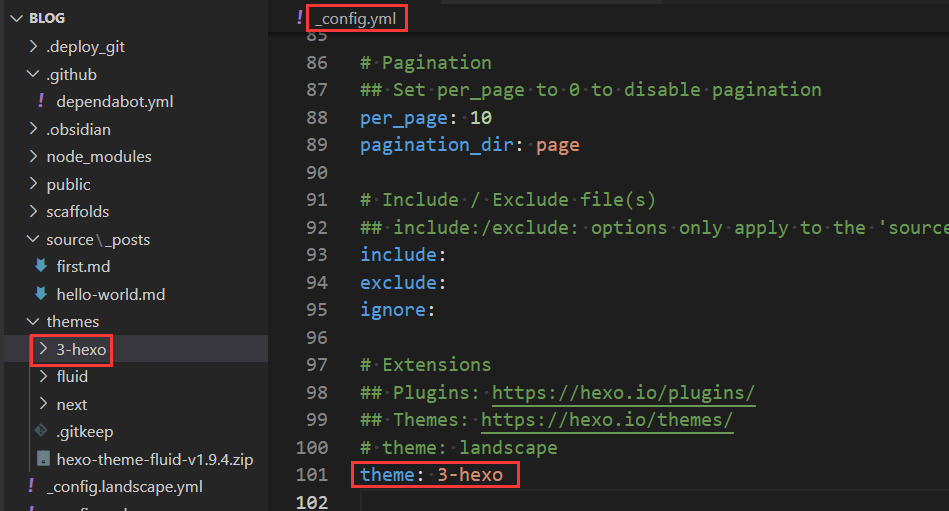
这是将3-hexo主题下载到blog目录的themes主题下的3-hexo文件夹中。
打开博客目录下的_config.yml配置文件,修改主题为3-hexo
1 | |
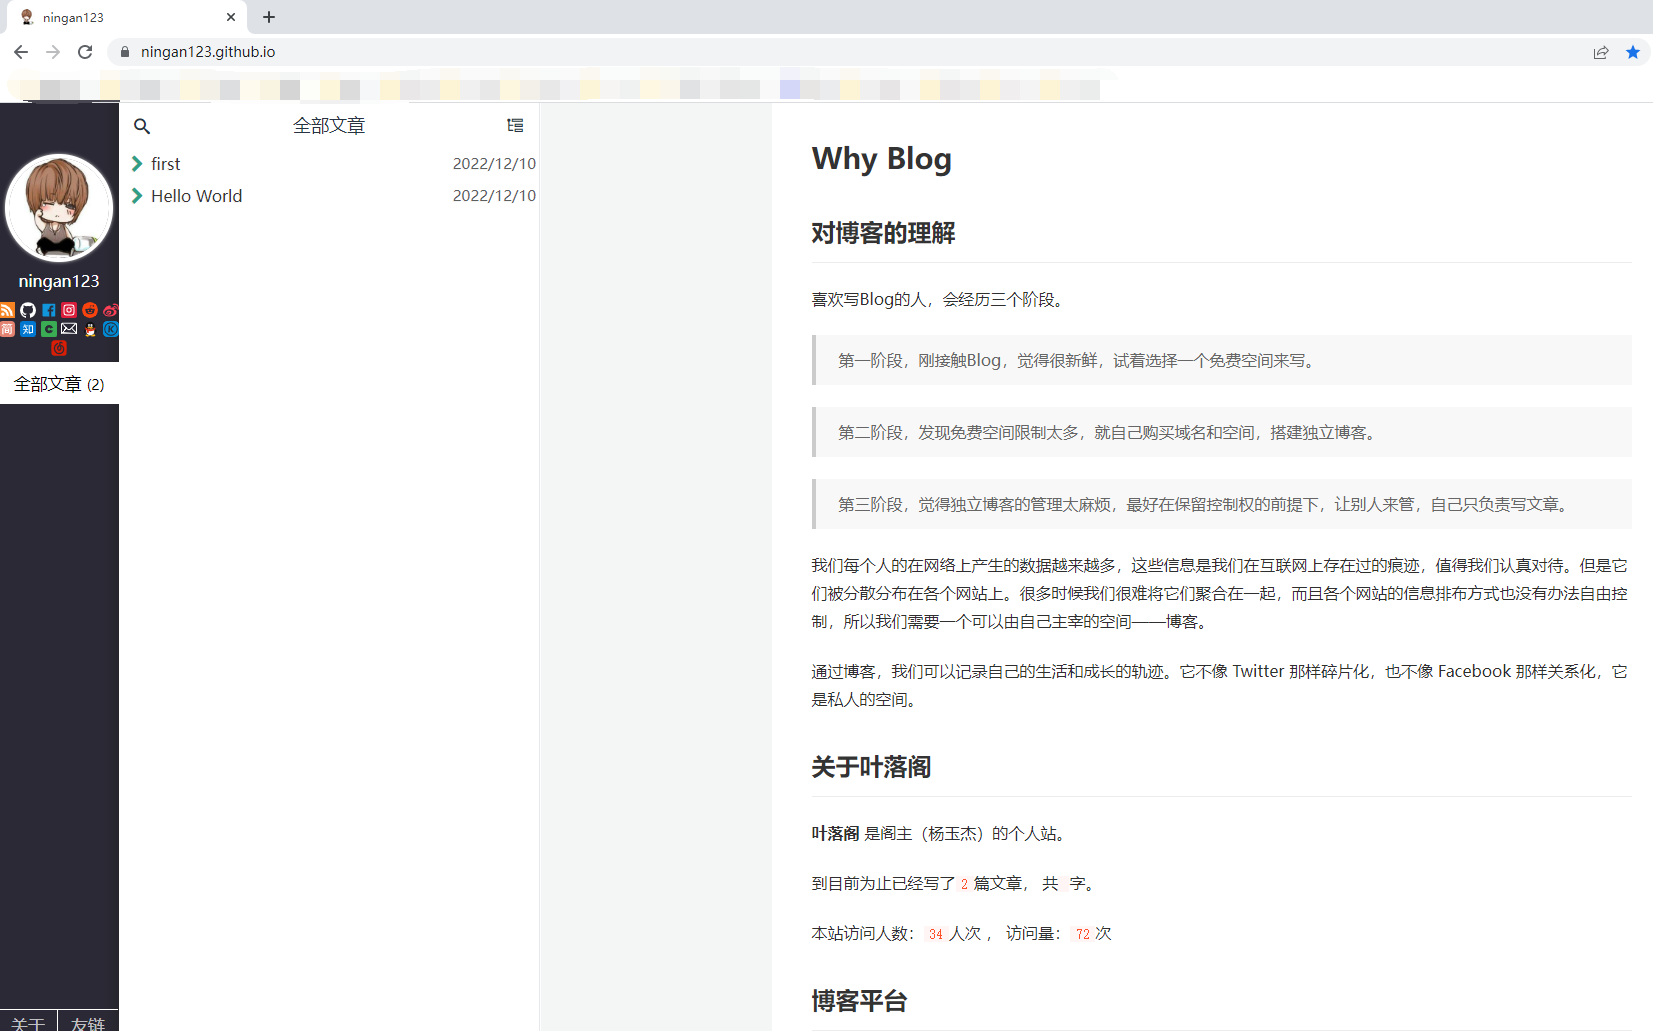
效果如下:
(修改了部分配置数据,没有在博客里写出来)
hexo进阶
hexo插件:自动生成目录
想要自动生成目录
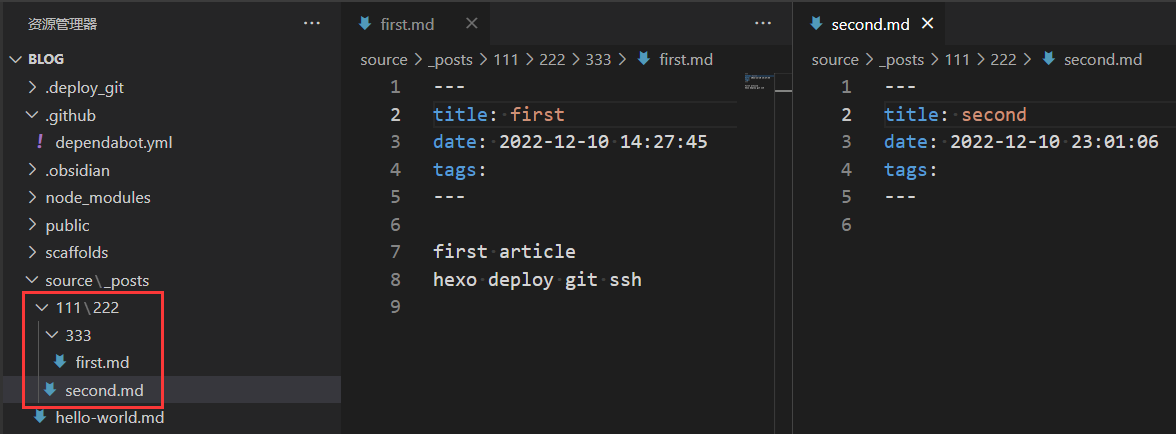
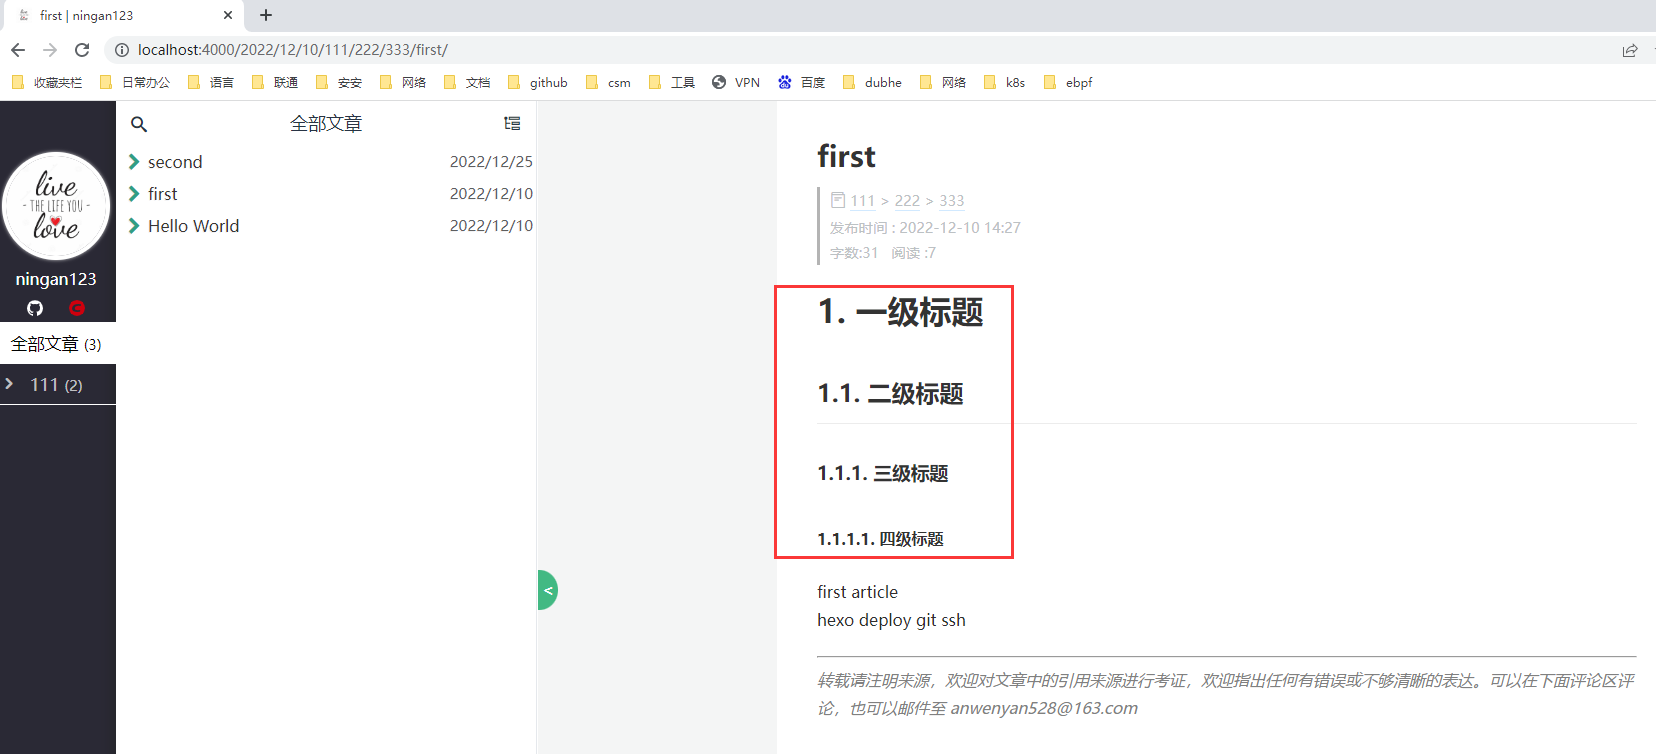
原始的文章目录格式如下,文章的原数据如下右
1 | |
配置 Hexo _config.yml
1 | |
1 | |
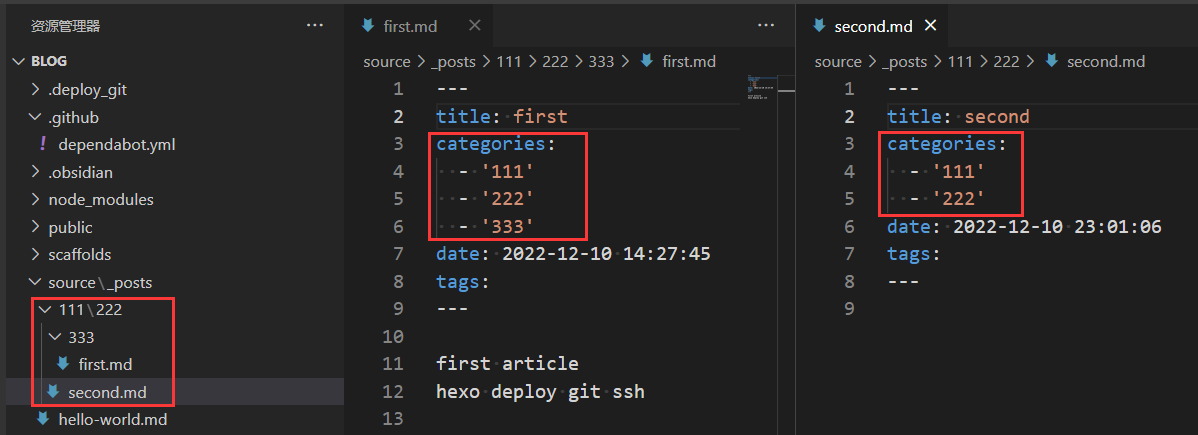
可以看到categories目录已经自动添加上了
hexo插件:自动生成目录序号(自行选用)

配置 Hexo _config.yml
1 | |
obsidian插件:templater
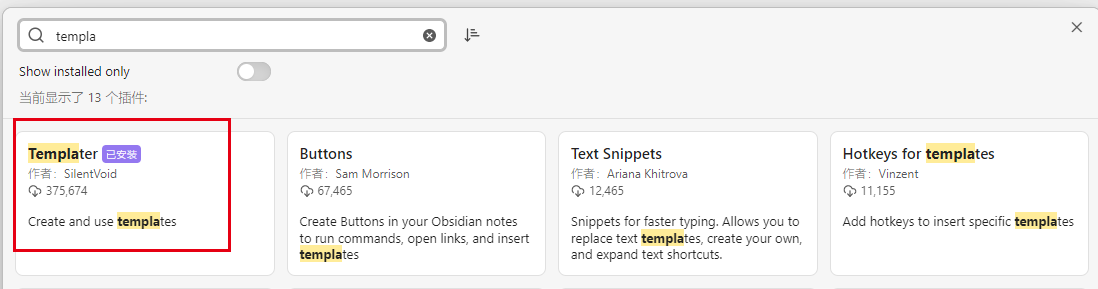
安装插件
打开插件
左下角设置 –> 第三方插件 –> 社区插件市场,搜索:templater
点击安装,然后启用。
配置插件
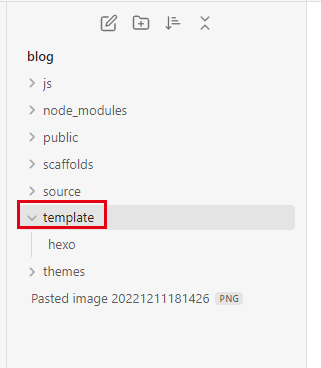
在仓库下新建一个文件夹,随意取名
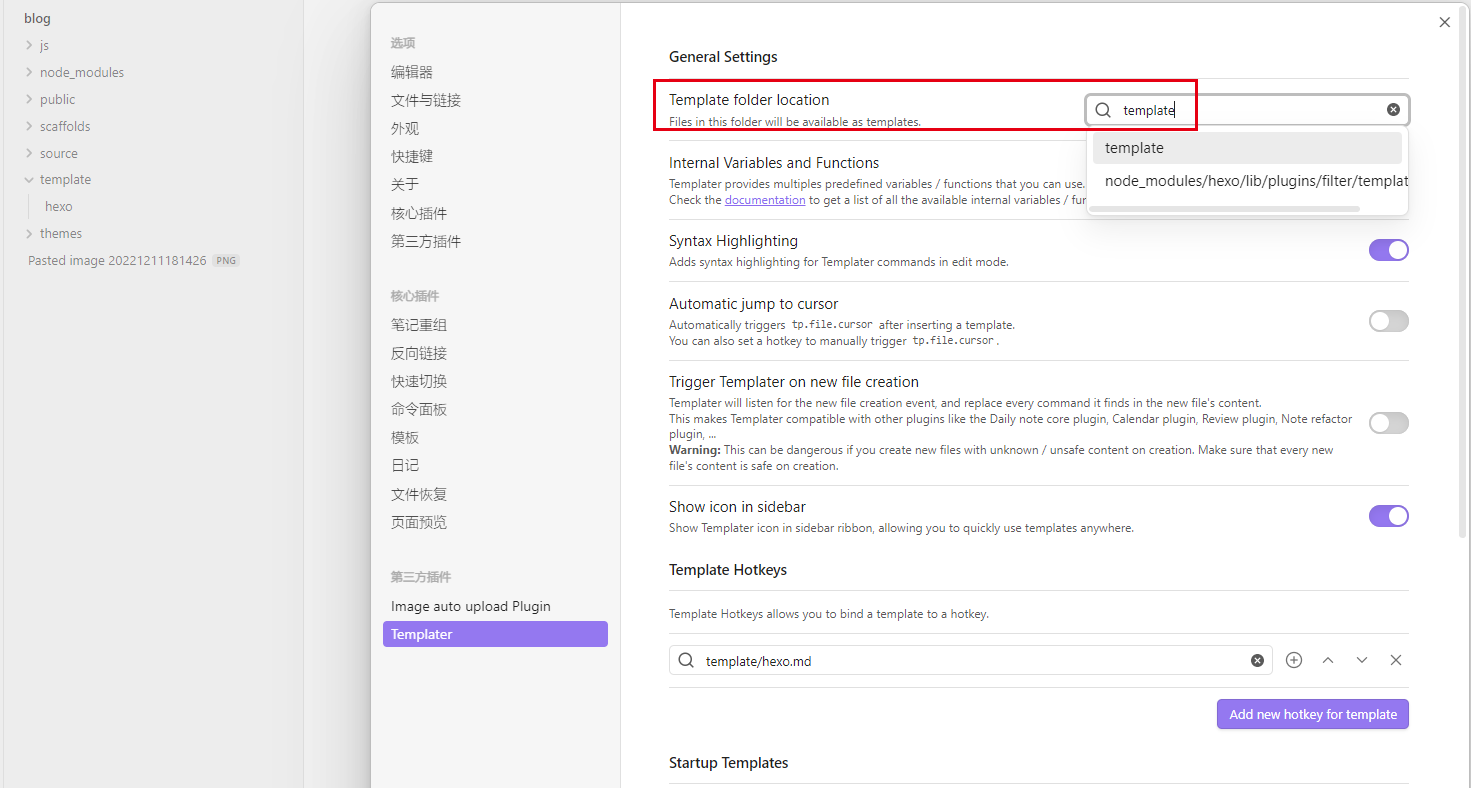
在插件的配置处,将刚刚的文件夹填上。
定制模板
定制一个hexo的元数据模板

1 | |
新建笔记
此处选择一个之前就创建的笔记,点击左侧templater的模板,选择刚刚建的模板hexo
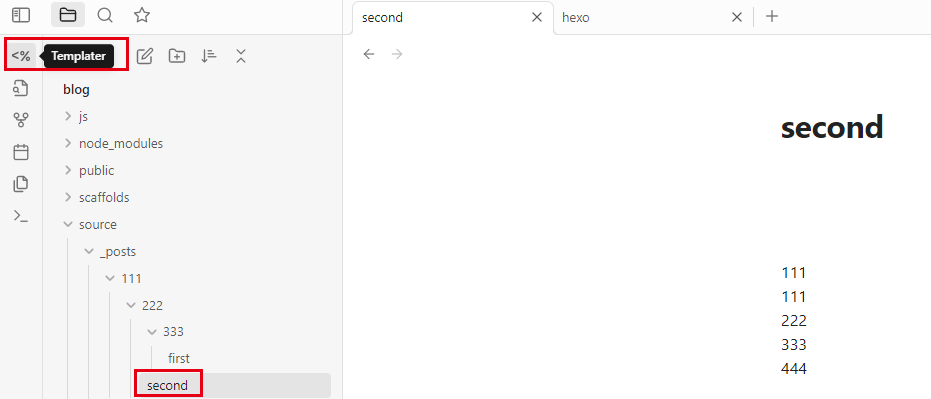

可以看到,已经动态生成了模板数据
之所以要选择之前就建好的笔记,是因为想体现出插件的creation_date和last_modified_date的区别。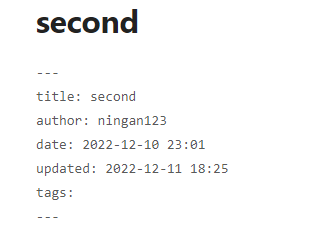
还可以定制其他自己想要的数据,可以到Templater进行查看其他语法的生成。
搭配刚刚hexo动态生成目录的插件,可以实现元数据自动化,是不是爽歪歪~—
参考资料
【hexo系列】02.hexo和obsidian实现笔记丝滑
http://example.com/2022/12/11/hexo/【hexo系列】02.hexo和obsidian实现笔记丝滑/